

In this article we will review the proper ways to use a circle template. The circle template is an essential tool for landscape architects and designers for drafting trees, shrubs, furnishings and for making nicely rounded corners or turning radii for plans.
The circle template allows us to create accurate well defined circles or arcs. As you have probably noticed from other articles and videos on this website, it is used very often when drafting trees and shrubs, but its functions extend well beyond that purpose.
Purchasing A Circle Template
The first thing we should discuss is the purchasing of a circle template. You will often see a variety of different templates available for purchase either online or at your local arts supply store. The circle template I recommend to all students is the Pickett Circle Master Template 1204i. It has circle ranges from 1/32” to 2” in diameter and I have found that this fits almost all applications a landscape designer might need. In case I do need a larger circle or arc, I can easily reach for my drafting compass in those seldom circumstances.
Now you do not need to purchase this specific circle template. There are a variety of different options out there, but I would advise that you look for something with a wide range of circle sizes in one template. Sometimes you will see art or drafting supply stores sell sets of smaller circle guides packaged together, with each guide only having a small range of sizes. I am not a huge fan of those circle kits. I’ve found it much more efficient and organized to simply have them all in one template.
You also want to make sure that the template has a scaled ruler along its straight edge. Most good circle guides will have this, but just double check. You may think that it is redundant when you can simply reach for your scale, but I’ve found myself using it more often than not when I need to quickly space or measure items within a plan.
Another thing to avoid is circle templates specifically created for landscape design – these often have guides for tree symbols, stones, and groundcovers. Not only are the symbols rather ugly, but they develop bad drafting habits. You can easily create much more interesting and attractive symbols for your designs by using a basic circle template and taking some time to practice with it.
Other types of templates similar to circle templates, such as ellipse guides or square guides are entirely up to you for purchase. I haven’t seen much use for them, but perhaps there are specialty situations that arise where you might need one. Otherwise, I would just save your money.
Drawing Trees & Shrubs
So let’s start and see how we can use the template as a guide for making a basic tree symbols at a particular scale.
Let’s say we have a plan and we are creating a pathway, drawn below:
We have drawn this example with the standard scale of 1:20 (20 scale), meaning we are using our engineers scale. This means that every 1” equals 20’ in the plan. If you haven’t yet reviewed the tutorial on architects and engineers scales, you can find it here (link coming soon).
We have the path drawn and we want to plant a line of trees along it. In your own specific case, it may not be trees, it might be shrubs, perennials, sculptures or anything that you are placing that has a specific measurement along the pathway – for this tutorial we are choosing the easiest option, a row of trees.
For our design we are planting a row of common street trees, the Japanese Zelkova (Zelkova serrata).They typically grow anywhere from 30-35’ width and we will space them 50’ apart on center.
So if the Zelkova reaches around 35’ in width, we will draw it at around 70% of its mature size which would be at 25’ width. It’s typically common to draw your plant material at around 70-75% mature size when drafting your final plan, but it isn’t a hard and fast rule.( If a plant ends up looking better drawn full size then by all means draw it that way. You just don’t want to run into the situation where you are being dishonest in your representation.)
Since we are going to draw a tree that is 25’ wide, this means it has a diameter of 25’. If 1”=20’ and we need a tree that is 25’, we will need a circle template with a diameter of 1 ¼” – since one-quarter of 20 is 5. If you get confused by any of that quick mental math, just simply get your handy engineer scale out and measure it yourself.
The purpose of having the circle guides at specific diameters is so you don’t need to do this step, but you may find it helpful until you get the hang of just calculating it in your head.
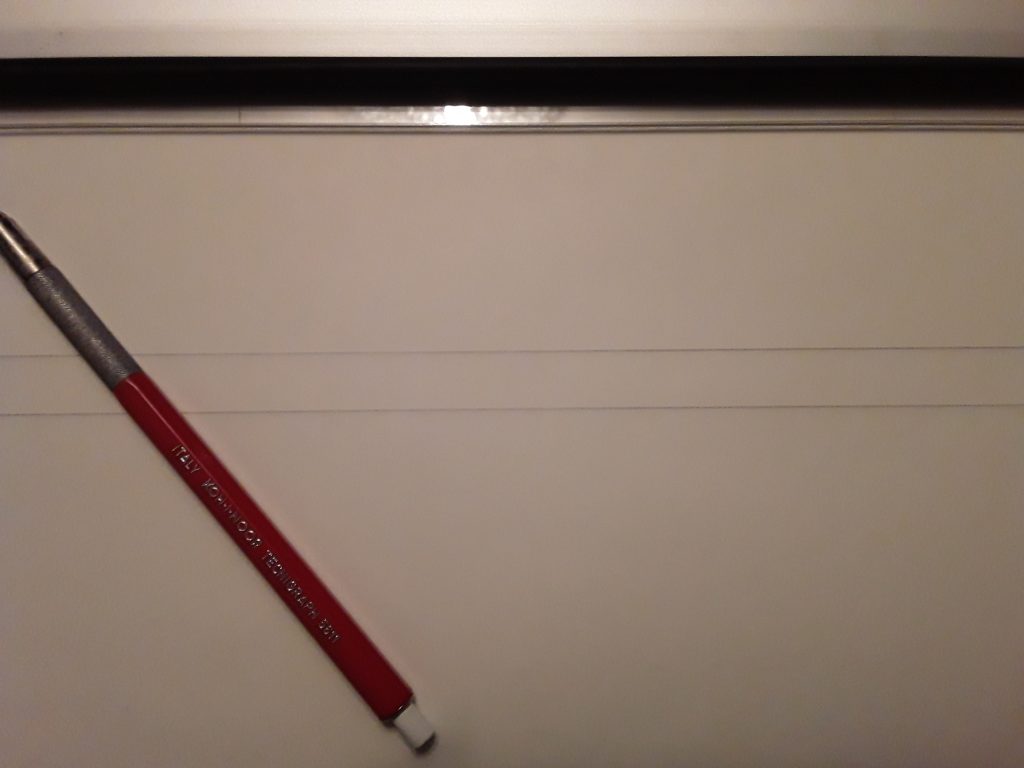
Once we have our circle guide selected, we place it on the plan and draw the circle – starting at the RIGHT hand side of the drawing and moving toward the left. If you remember from the introductory post on the mechanics of drafting, we always want to be pulling from the shoulder away from our body. We don’t want to be pushing the pencil like a pool cue.
Since I am left-handed, this means I move right to left. If you are right handed, you simply work in the opposite direction. Also you don’t want to be overlapping the areas we just drafted.
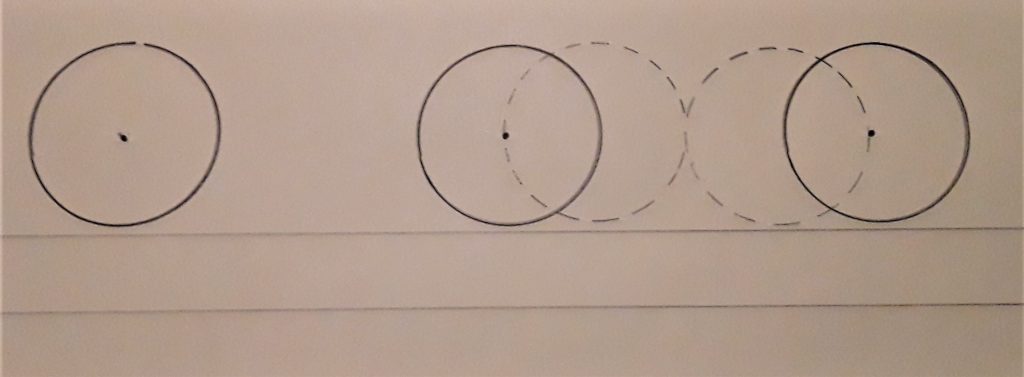
Now since we will be spacing them 50’ apart on center, we can use our circle template as our scale. Since the 1 ¼” circle represents a diameter of 25’ we simply need to move down the length of two circles before marking the center of our next circle.
We then utilize the cross hatches to center the point within our circle, and draw the second tree. We continue this pattern until we are finished with the trees in the line.

In garden beds, plants are not typically aligned in such an orderly manner, so there is much more flexibility with the locations of the circles, but you can use the same principles as your guide. A common planting pattern for a series of woody shrubs would be in staggered formation.
Drawing Rounded Corners
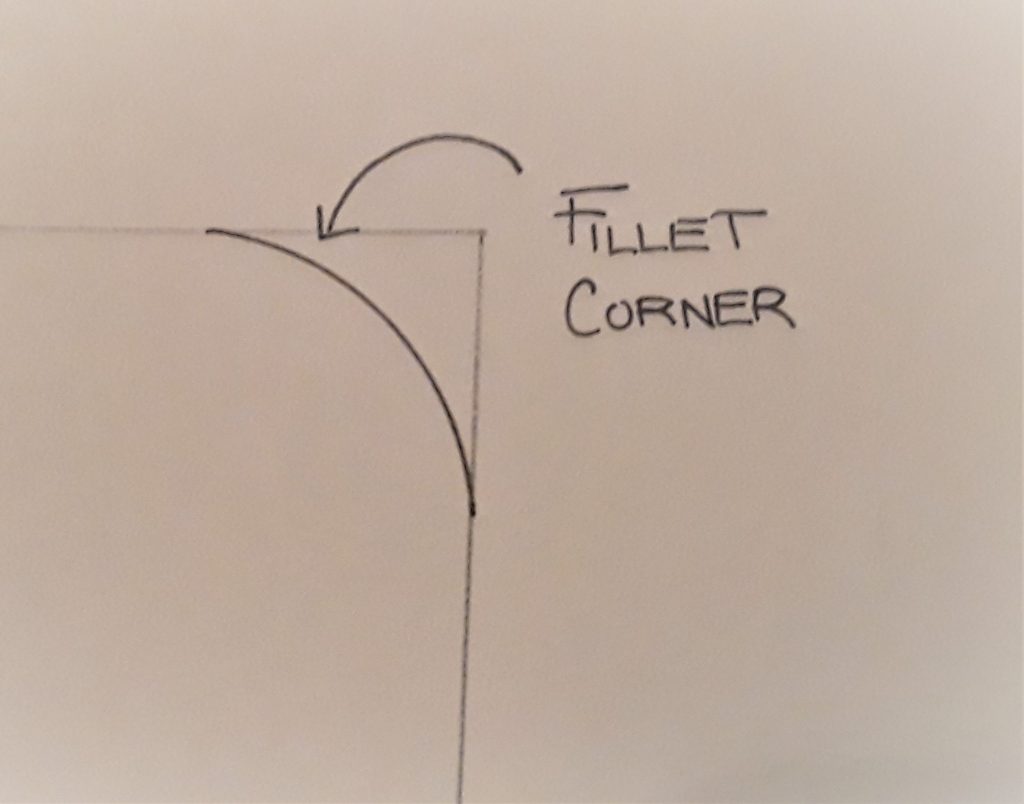
Now, there are also situations in which you have a corner shown in the picture below and you will want to create a fillet edge, or rounded corner. We will want to round that corner to form a proper turning radius so that vehicles coming from west to east in this direction have ample space to turn safely. We will use a standard 20’ curb radius as our example.
This means that the arc or chord that we are drawing will be derived from a circle whose radius is 20’. So we will start with a simple question – if we are at a scale of 1:20 and we need a circle whose radius is 20’, what circle size on the template should we use?
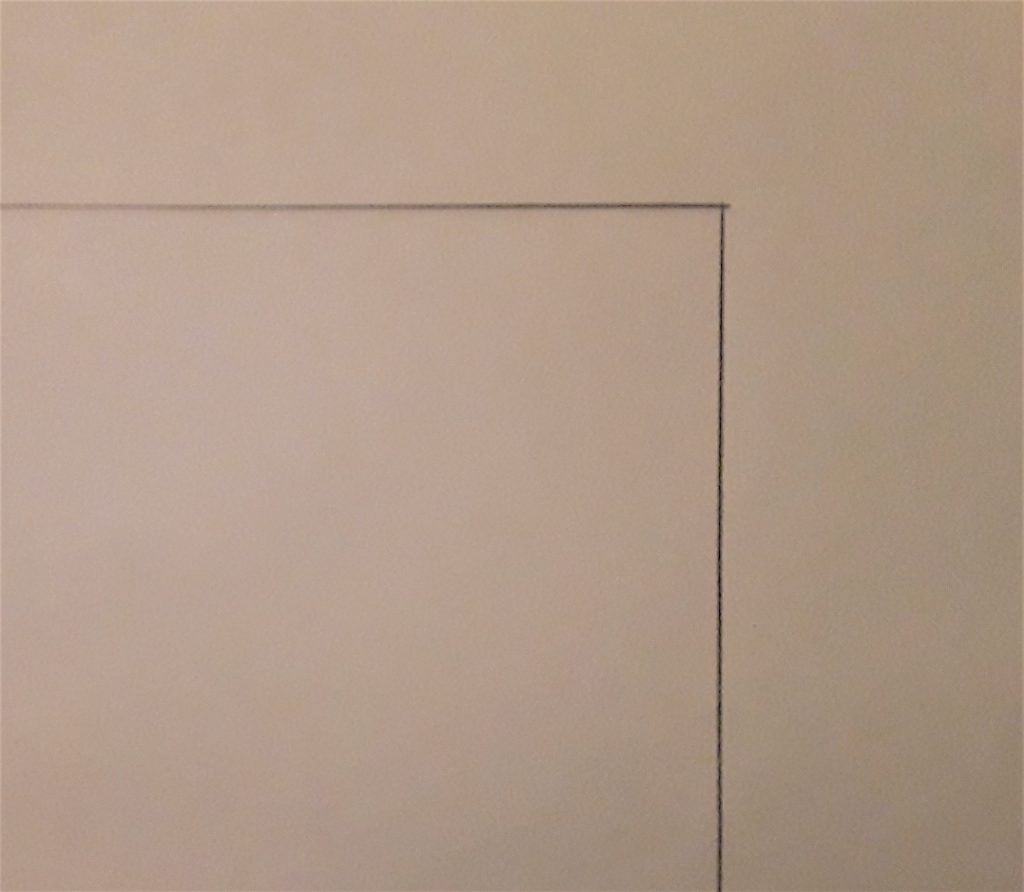
Sharp Corner 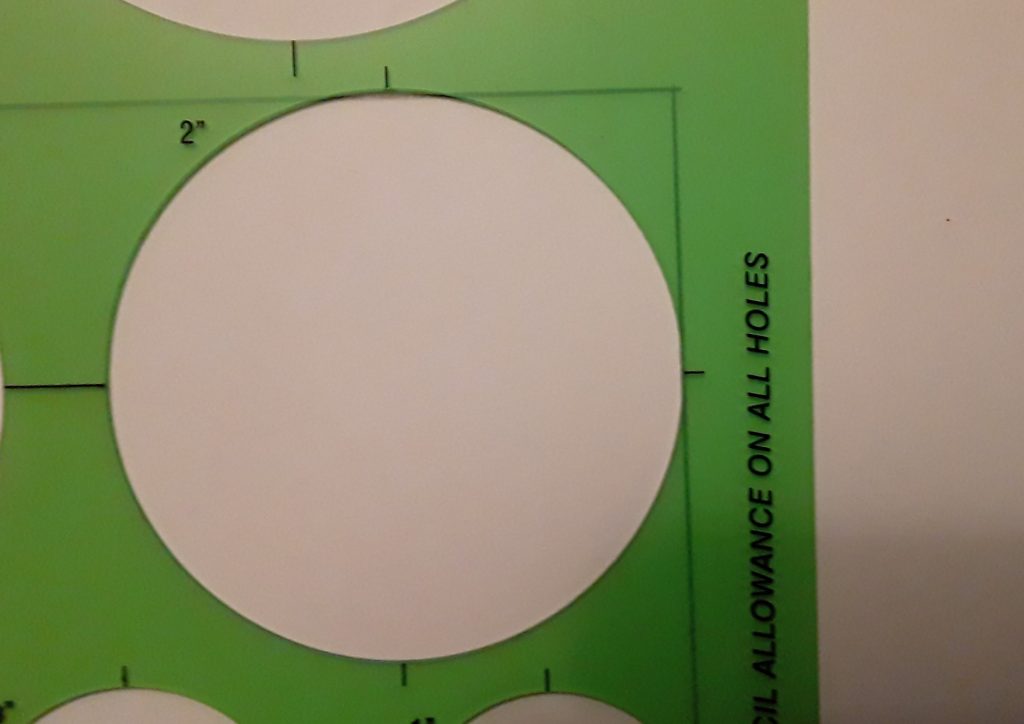
Template for Fillet
The answer would be 2”, since a diameter of 2” means a radius of 1” and 1” = 20’. So we will go to the 2” radius circle, and align hatch marks of the template so that they are both tangent to the lines we are rounding off.
When we are happy with the placement, we draft the line. Now we can come back, and use our eraser shield to clean up the construction lines we drew and now have a nicely rounded corner.
This process does not have to be just used for street corners, although that is a very standard function of them, but they can also be used to round of patio corners, garden pathways.
For more additional articles in our introductory Hand Drafting Series, make sure you check out (link to come).
Also, be sure to look at our Design Resources section for many more articles to help Landscape & Garden Designers.
____________________________________
Important Legal Disclaimer: This site is owned and operated by Draftscapes. We are a participant in affiliate marketing programs designed to provide a means for sites to earn advertising fees by linking to participant vendors. Affiliations include Utrecht Art Supply and Amazon Associates. Draftscapes is compensated for referring traffic and business to these companies. Recommendations for products or services on this site are not influenced through the affiliation.