

In this article, I will reference 5 common design drafting mistakes I see students or professionals make in putting together their landscape plans. Hopefully, through reviewing these, you can develop better habits and keep your illustrations looking beautiful for every situation.
There is nothing worse than working feverishly on an important landscape plan for a client or studio project and have the result be lackluster. Unfortunately, it can happen to even the most experienced designers.
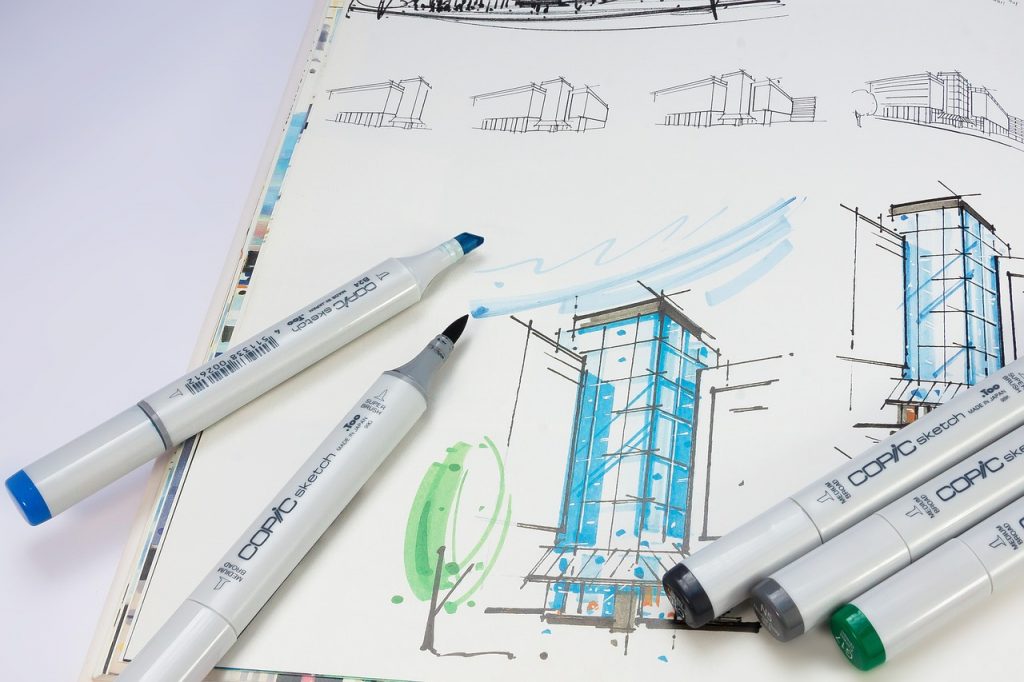
Mistake #1: Too Many Detailed Symbols
It is easy to get caught up in the process of drafting. When you first start drawing your designed landscapes, there is a multitude of stunning symbol types that are available; however, you should be careful to balance well-detailed symbols with simpler ones.
A good tip I often tell students is to simply take a step back from their drafting board every 10-15 minutes. This helps give the impression a viewer might have when the design is presented. You will often find that close-up the grouping of plants looks perfectly fine, but from further away the pen strokes are simply too busy.
Often designers do this “over-drawing:” unintentionally, but a good technique to prevent it is by categorizing your plants, plant groupings, or furnishings by importance. Three categories typically suffice – most important, important, and least important.
The most important elements should be those items that your design is focused around. For large spaces, perhaps it is an outdoor room or plaza. For smaller spaces, it could be a specimen tree or sculpture. Keep the heavy detailing reserved for these key areas of importance.
The problem of over-drawing can also present itself with ground textures. When drafting a large space such as a paved walkway or flagstone patio, it might seem appropriate to draw each stone, but this technique can quickly become overwhelming to the viewer. Instead, consider creating the texture from the edges or boundaries of the space and fade it out slowly so the interior is just plain white or color.
Mistake #2: Not Providing Any White (Lighter) Tones
Much like the previous problem, a beautiful design can be ruined by rendering too heavily throughout the entire site plan. Whether the areas are small or large, the designer should allow the cooler colors within the plan to “breathe” and be balanced with some white or some warmer colors with low saturation. (If you haven’t read it yet, check out the article “Color Theory” to review all the terminology of color theory and strategies).
A common example of this pitfall is when rendering groundcovers, grass, or mulch. Designers can quickly make the mistake of choosing a darker shade (green or brown) to fill the space. This can visually overpower the plant groupings or other features within the plan.
To help avoid this, try keeping a scratchpad or sketchbook handy near your workspace and practice with various color combinations. Start with lighter ground textures and work through darker shades until you are pleased. Also, be sure to view the work from a bit farther away to ensure the graphics still read well from a distance.
Mistake #3: Going “Label” Crazy
As I was critiquing a design of a student, I suggested that he remove some of the labels on his drawing since they seemed to be cluttering the nice drafting work he did on the landscape plan. His response was “Well if I don’t label it, how will anyone know what it is?”
It was a perfectly understandable response – he had worked hard to specify every plant and material he was presenting and had sufficient information as to the reasoning behind each decision. However, the labels were simply too distracting and took the viewer’s attention away from the valuable graphics he had drawn.
When you are drafting an illustrated landscape plan, I believe certain liberties are allowable to free you from going “label crazy”. A common one I see often in my classes is when students label every patch of “lawn” or “turf”. Chances are, if there is a swatch of green with nice stippling in front of a residence, the viewer will assume its lawn. Save labels for the important items on the plan, or for areas in which you feel the viewer might be confused.
An associated technique that is associated with going “label crazy” is the over-use of a legend on the drawing. Many times a designer will create a heavily detailed and beautifully rendered landscape plan but ruin it by making it a scavenger hunt to identify what each symbol means.
Illustrative landscape plans are not construction drawings. Their purpose is to entice the viewer and provide a legible and graphically pleasing overview of your design.
If your project requires permitting and preparation of engineered construction details, then you should use the specific graphic standards associated with that project. Chances are these situations will only apply to landscape architects, who will most likely reach for easily reproducible and existing AutoCad details.
Mistake #4: No Line Weight Variation
Line weights are an easy metric to understand, heavier line weights equal bolder lines – simple enough right? In theory it may seem simple, but in practice, it is difficult to get right. The common problem I see with new designers is best described as a “shallow” drawing – keeping all line weights identical so that there is no perceived depth in the drawing.
Line weights for landscape design drawings should be varied to highlight the relative height of structures or plant material utilized. The standard methodology is that architectural components (whether buildings, site furnishings, or above-ground deck structures) should carry the heaviest line weight.
Second to architectural components are tall ornamental or specimen trees, which stand above the shrub or perennial layer that is drawn lighter. Finally, the finest line weight should be saved for detailed paving materials or ground textures. If a heavier line weight were to be used for these areas, you would quickly run into an “over-drawing scenario” discussed in Mistake #1.
Mistake #5: Choosing the Wrong Scale for the Page Size
It is easy to think that the entire site must be on the drawing, but this can often lead to poor illustration choices when presenting a plan to a client or class.
For example, if your project was a backyard pool and patio for a large residential property, there would be no need to show the entire house and parcel. Scaling the drawing down to ensure the whole property fits within a single sheet would probably lead to a design plan that was difficult to understand.
If you wish to keep a full view of the property as context, consider creating a second viewport within the plan. A viewport is simply a second window within the same drawing that shows a different area of the design. See the image below of an example.
Be careful though, because the reverse of this is also true. A well-illustrated plan should not bleed out to all areas of the border. You should allow some white space around the edges. This creates a nice balance and focuses the viewer’s attention directly on the design. This is especially true for larger sheets upwards of 24” x 36”.
Furthermore, if the plan were to ever go through a binding process for portfolio purposes, you want to make sure the book spine doesn’t cover your hard work.
To some, these design drafting mistakes may seem like basic common sense, while for others they may help in keeping your future illustrations of a higher quality. Trial and error will assist in finding the right drafting style for your specific project.
Also be sure to checkout “Which Drafting Paper Should I Use” for more information on design drafting.
Important Legal Disclaimer: This site owned and operated by Draftscapes. We are a participant in affiliate marketing programs designed to provide a means for sites to earn advertising fees by linking to participating vendors. Affiliations include Utrecht Art Supply and Amazon Associates. Draftscapes is compensated for referring traffic and business to these companies. Recommendations for products or services on this site are not influenced through this affiliation.